Self-hosting n8n with Its Brand-New AI Assistant on a Hetzner Ubuntu Server
 Yulei Chen
n8n 2.35 introduced a much easier way to use the preview AI Assistant on a self-hosted instance. Instead of wiring together the assistant, a code sandbox, and web search by hand, the official installer creates the Docker Compose stack for you.
You still control the server and n8n data, and you can connect your preferred model provider. In return, you are responsible for securing, updating, monitoring, and backing up the server.
By the end of this guide, you will have:
- n8n running on an Ubuntu server
- the preview AI Assistant with a sandbox and private SearXNG web search
- persistent n8n data in a Docker volume
- Caddy handling HTTPS for your domain
- correct public URLs for webhooks and the editor
- an OpenAI-compatible model provider connected to the assistant
Prerequisites
Before you start, you need:
- a Hetzner Cloud account
- a domain or subdomain you can point to the server
- an API key from a supported model provider
The AI Assistant setup runs several containers, including n8n, a sandbox, task runners, and SearXNG. Choose a server with at least 2 vCPUs and 4 GB of RAM rather than the smallest available VPS.
The AI Assistant for self-hosted n8n is still in preview. Its behavior and setup may change, and its output can contain mistakes. Review every generated workflow before activating it.
Step 1: Set Up Your Hetzner Server
If you do not already have a Hetzner server, follow these steps:
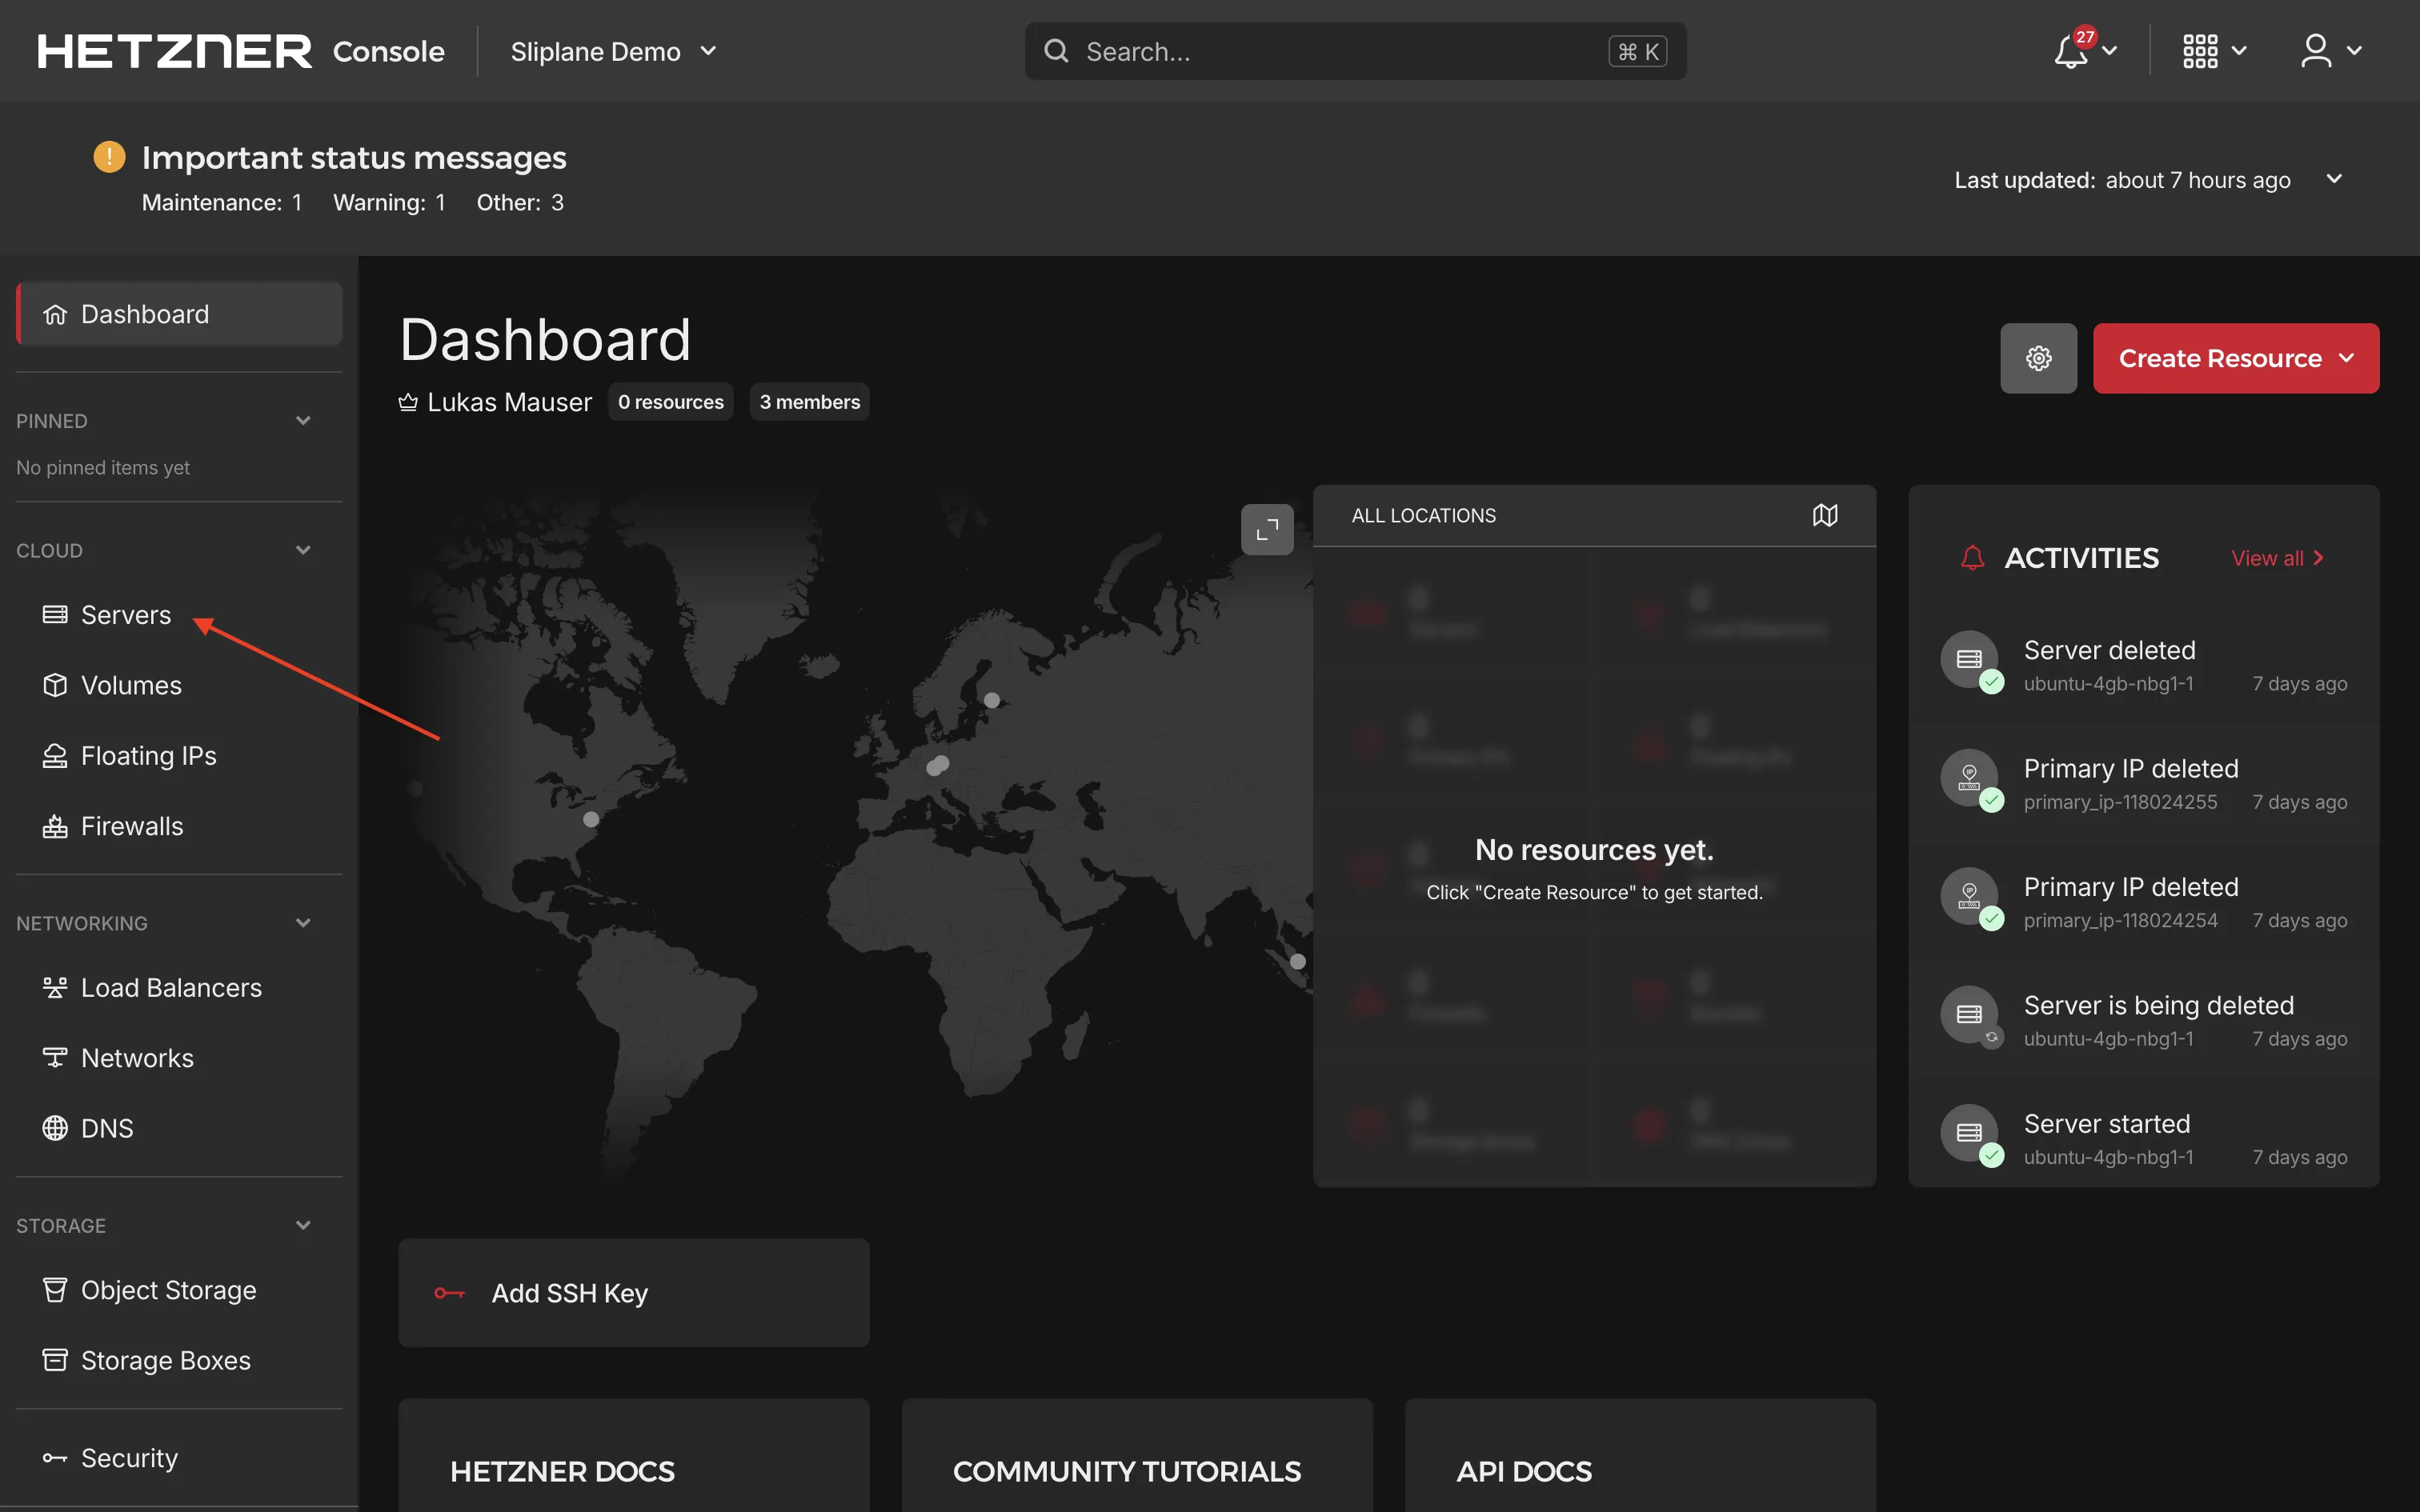
- Open the Hetzner Cloud Console, choose or create a project, and go to Servers → Add Server.
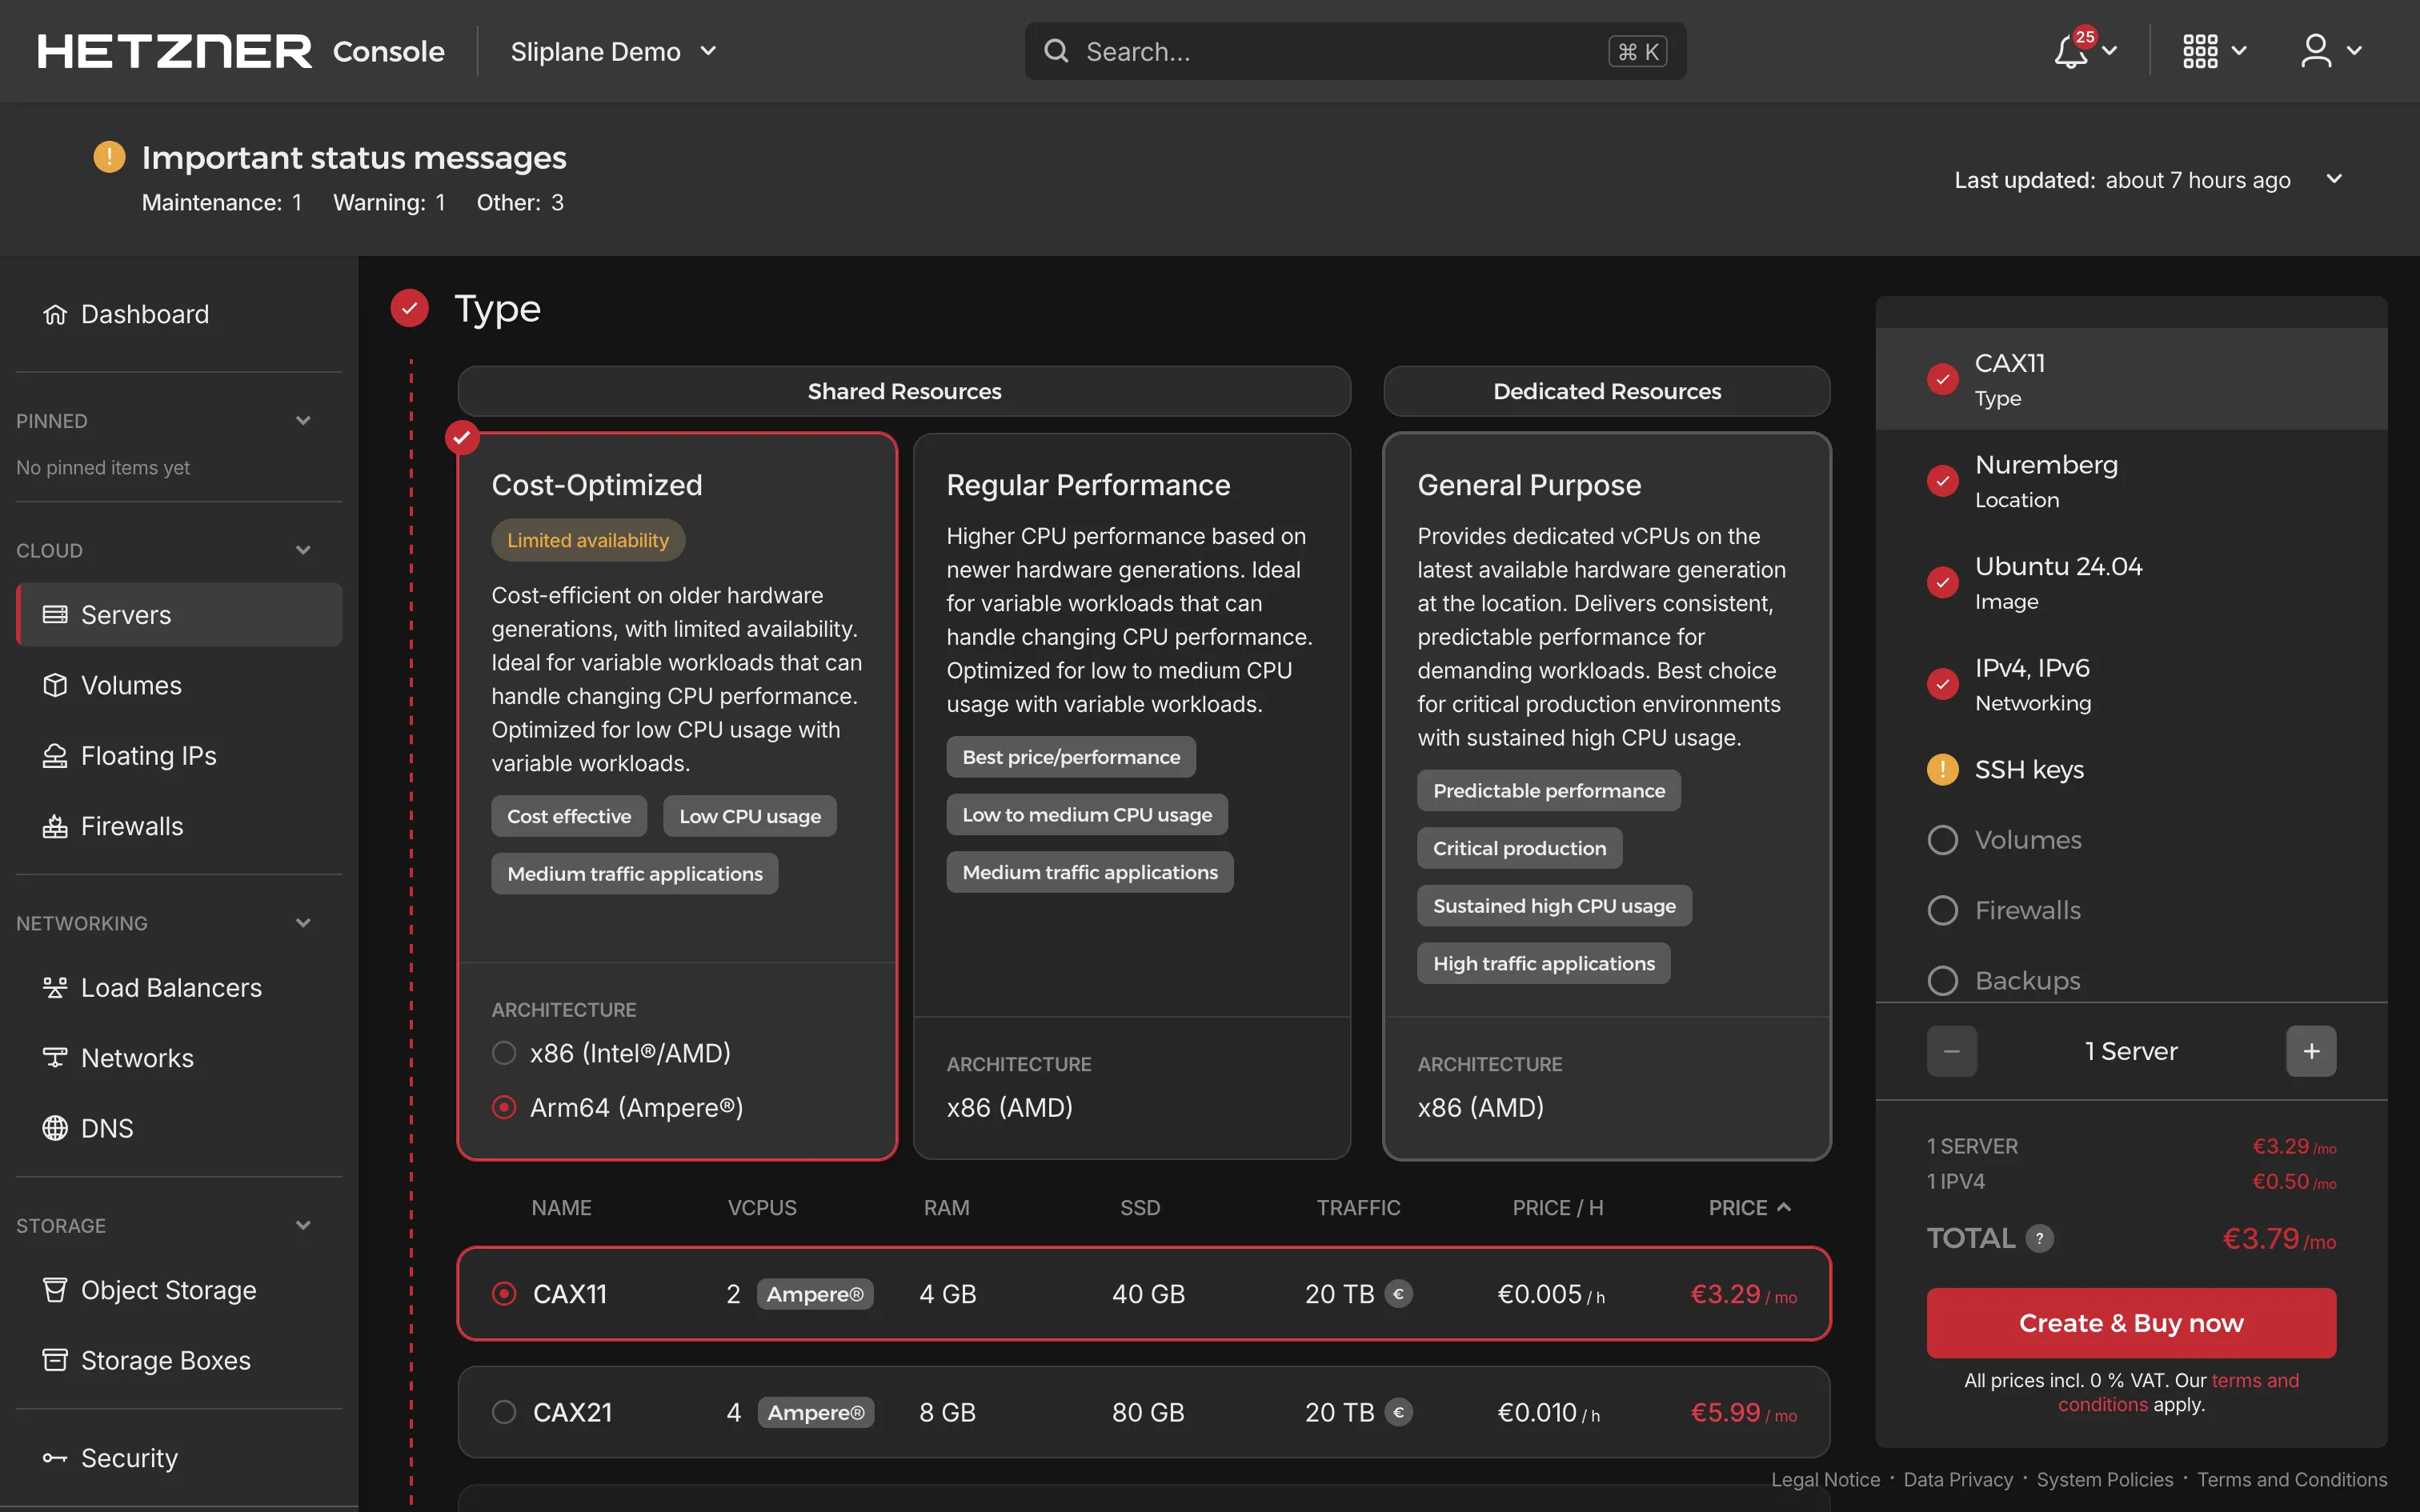
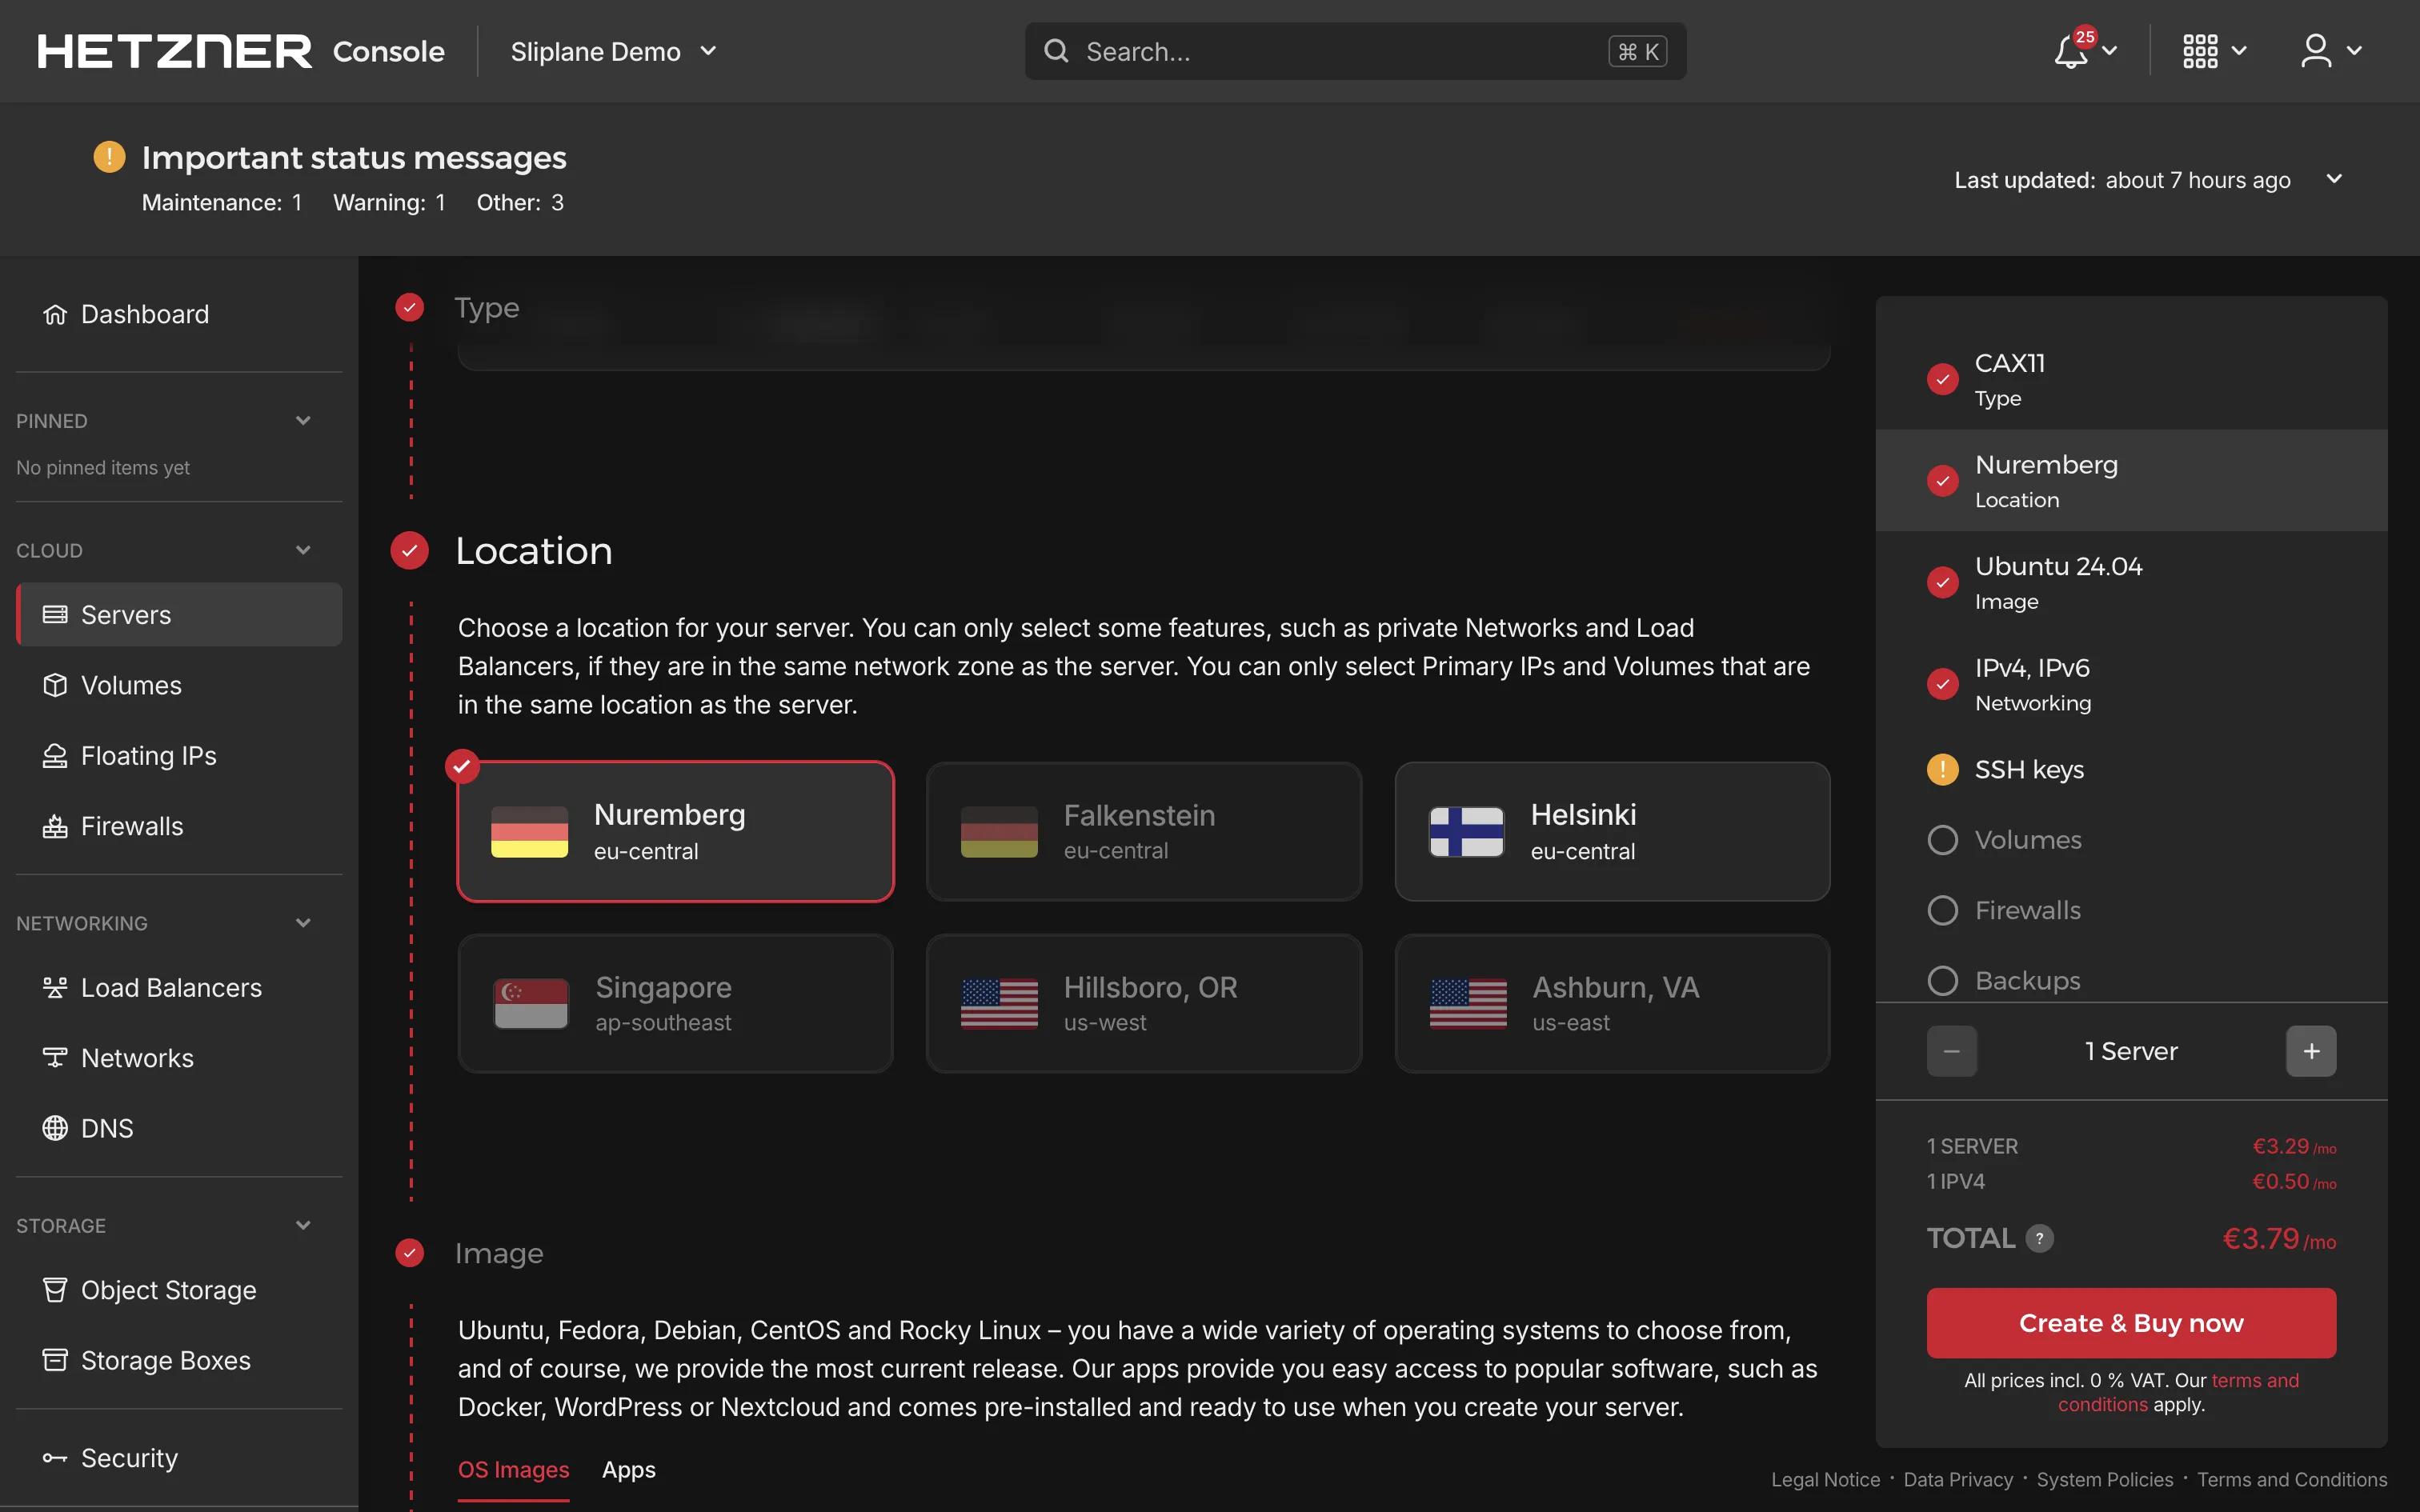
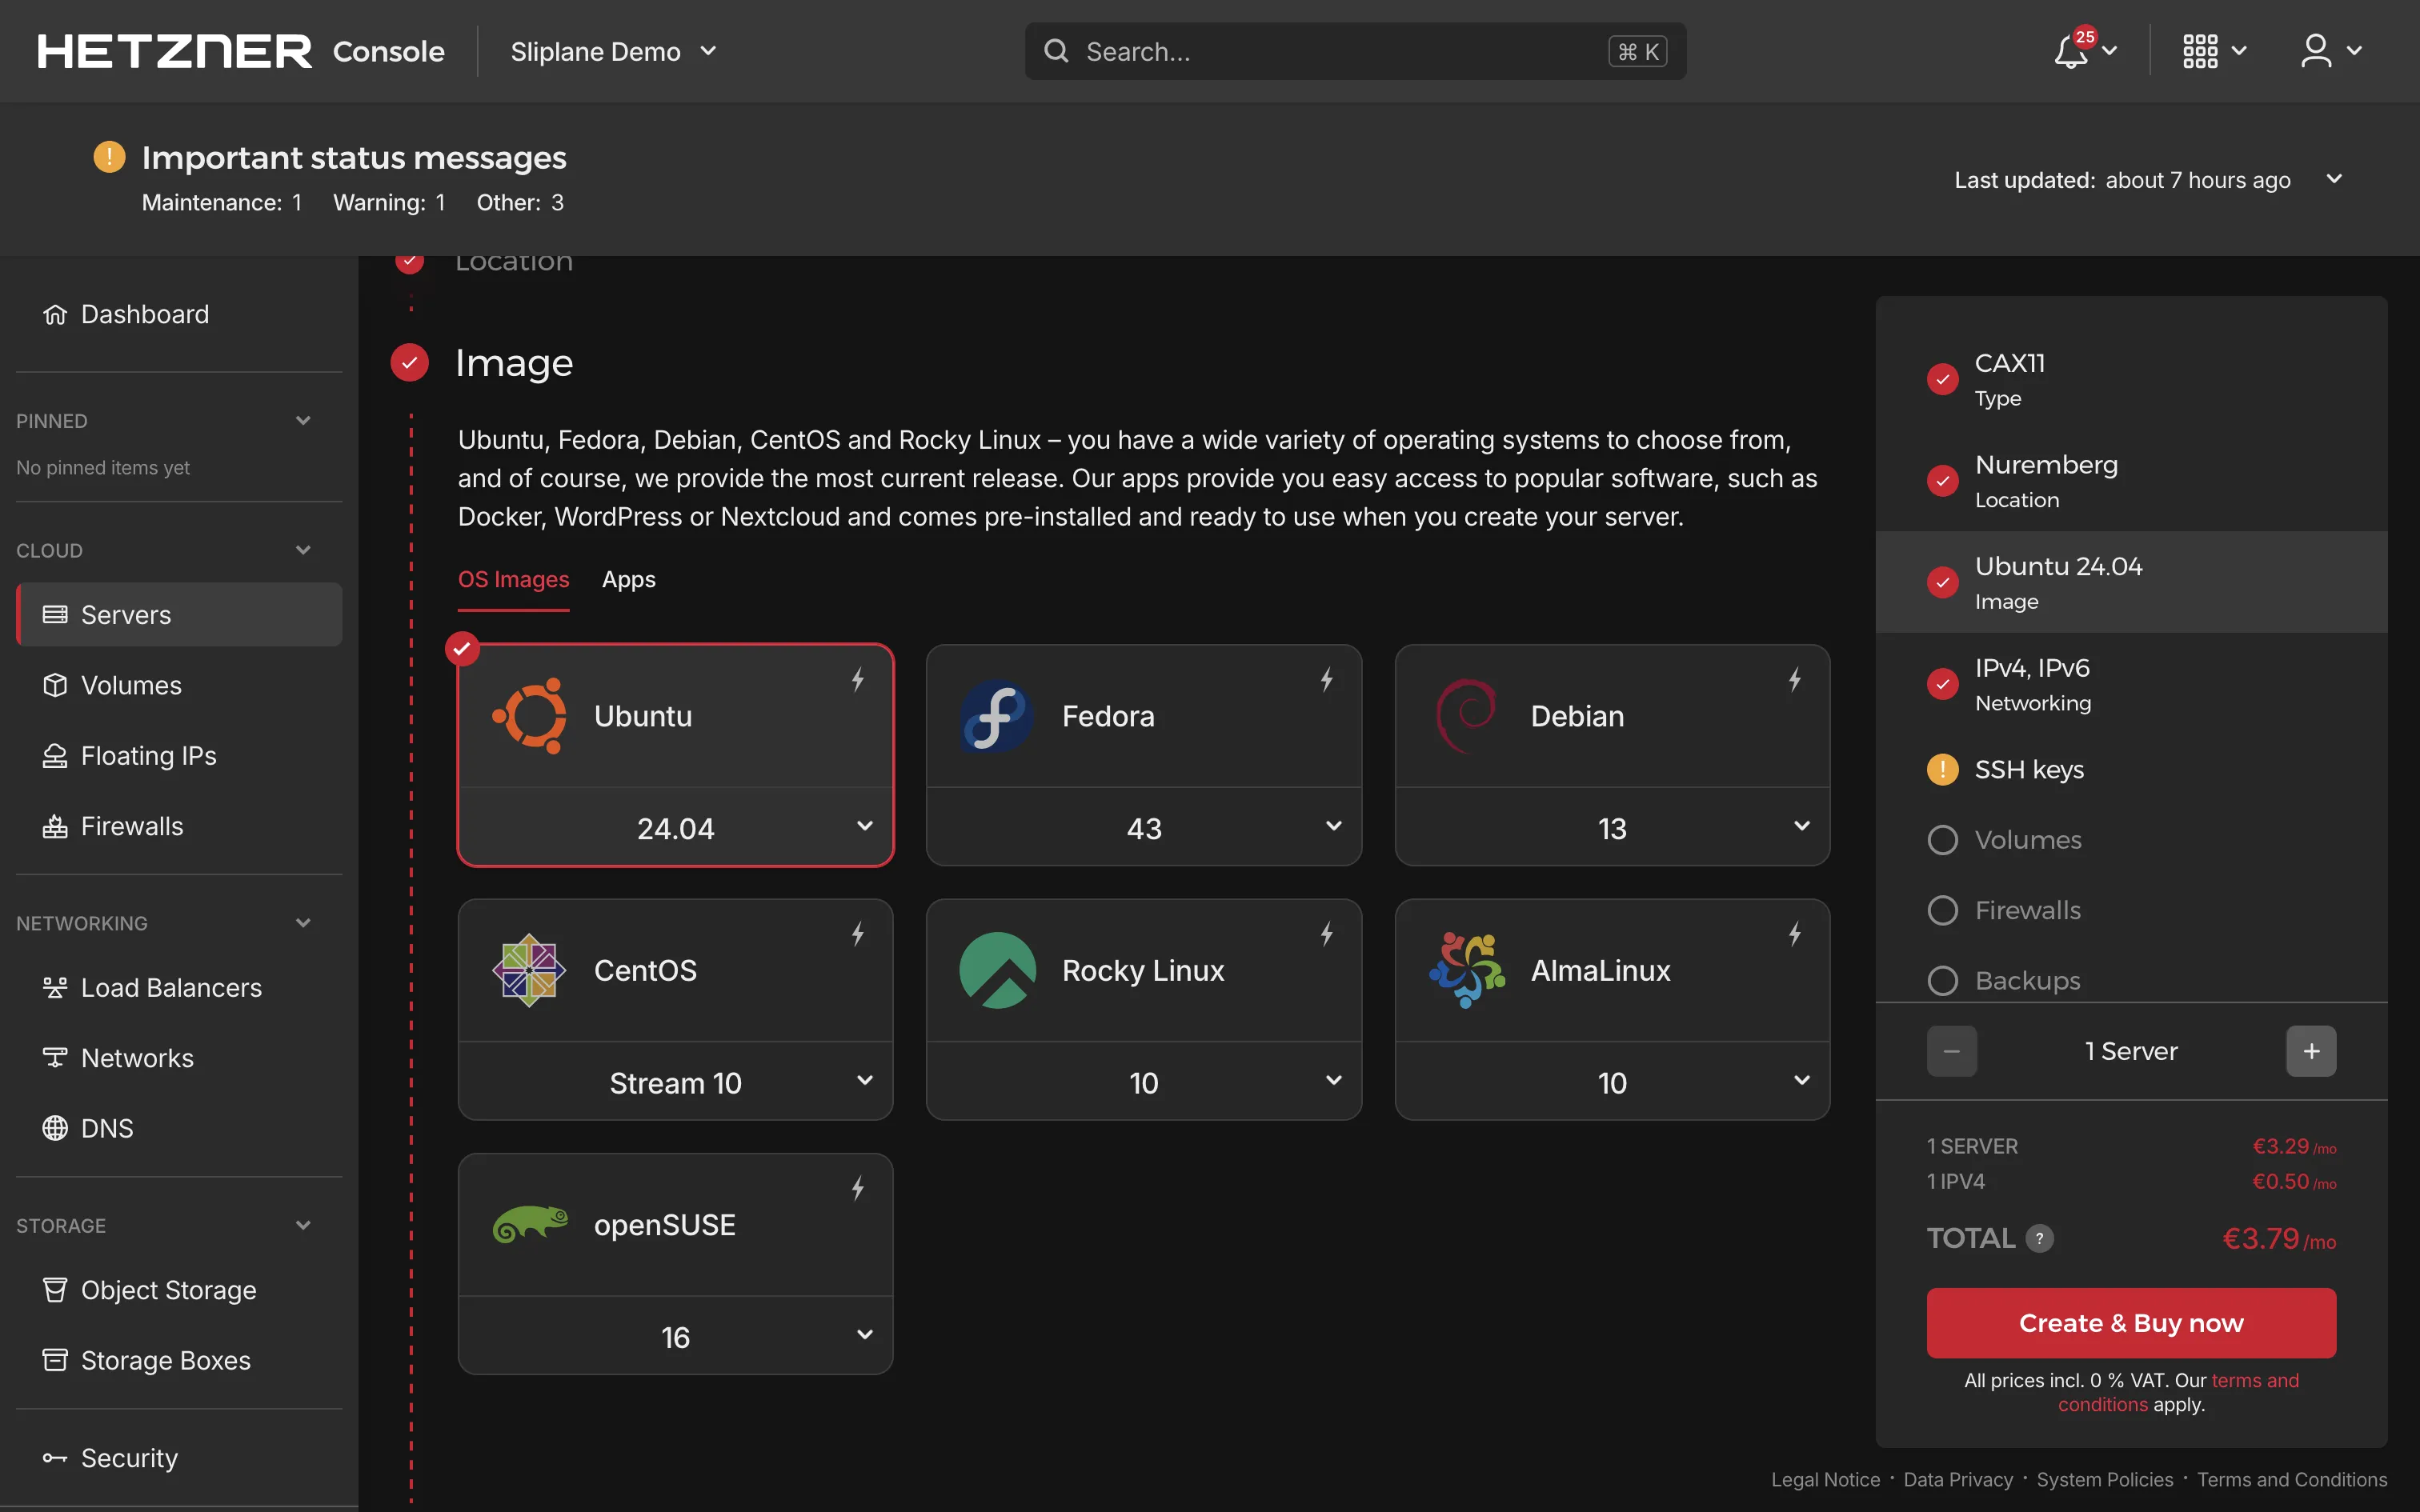
- Choose the server configuration:
- Location: Pick a data center close to you or your users.
- Image: Select the latest Ubuntu LTS release.
- Server type: Select a plan with at least 2 vCPUs and 4 GB of RAM for the complete AI Assistant stack.
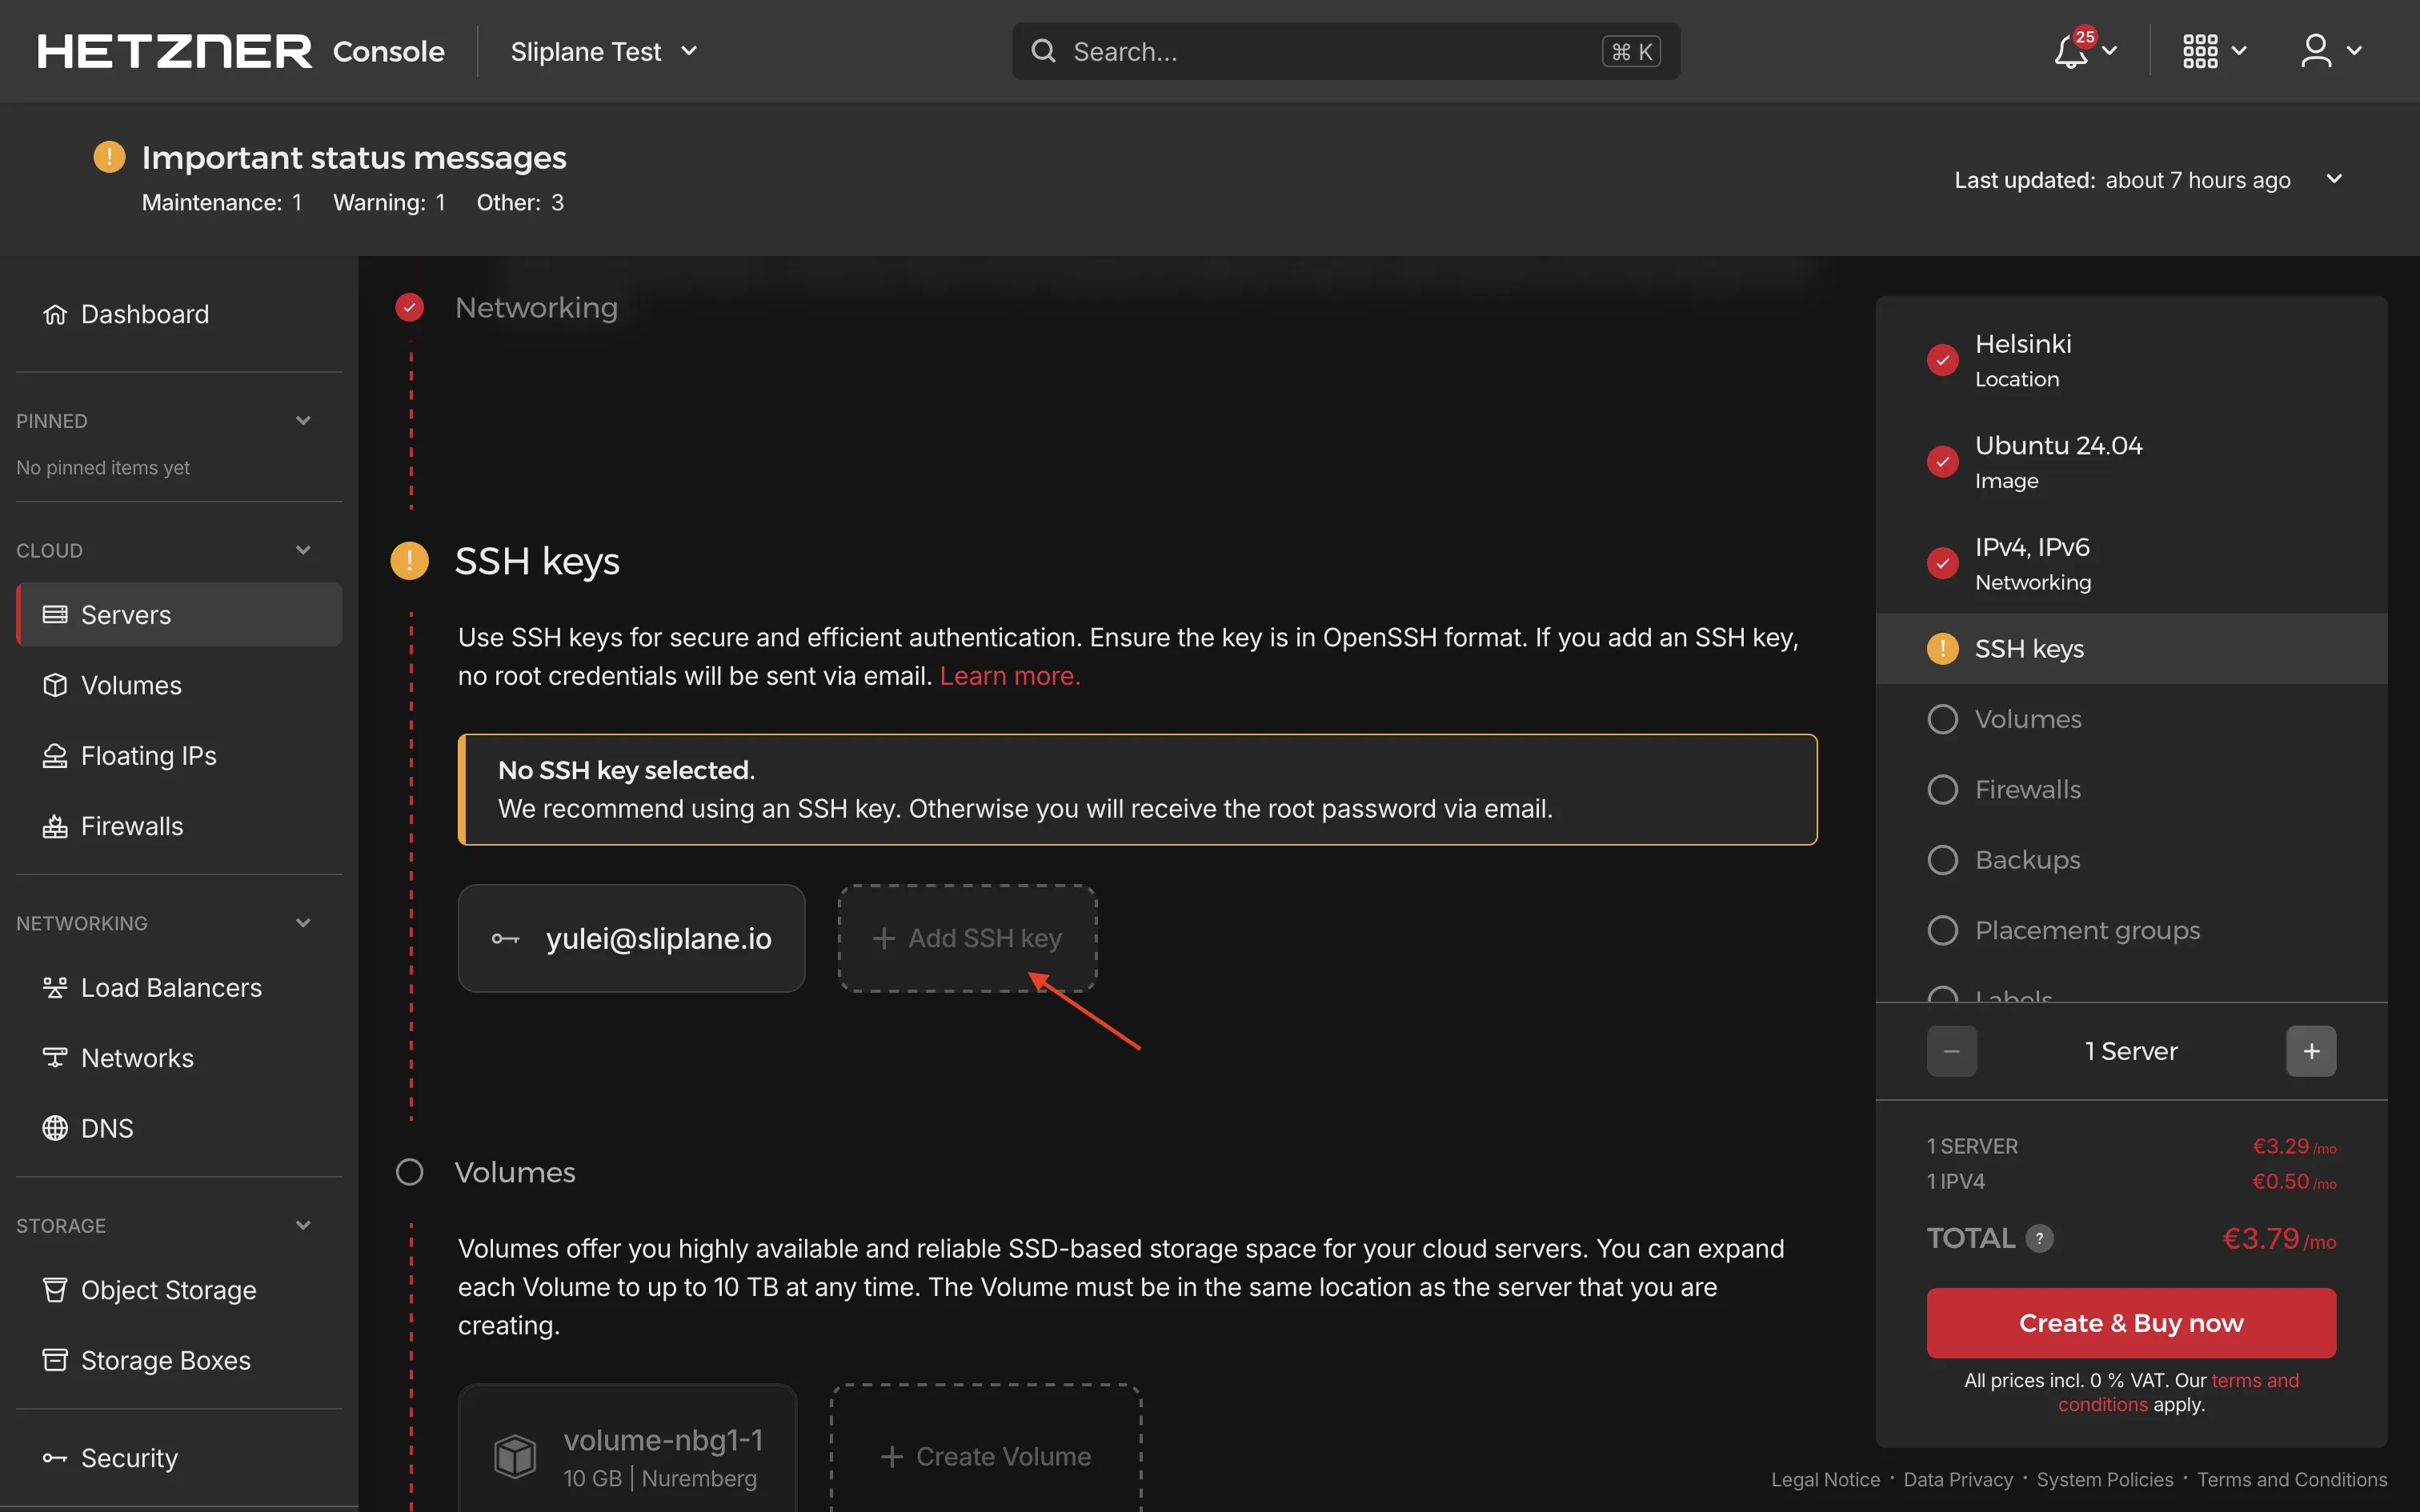
- Add your SSH public key. If you do not have one yet, generate it on your computer:
ssh-keygen -t ed25519 -C "your_email@example.com"
Copy the contents of ~/.ssh/id_ed25519.pub into the Hetzner Cloud Console.
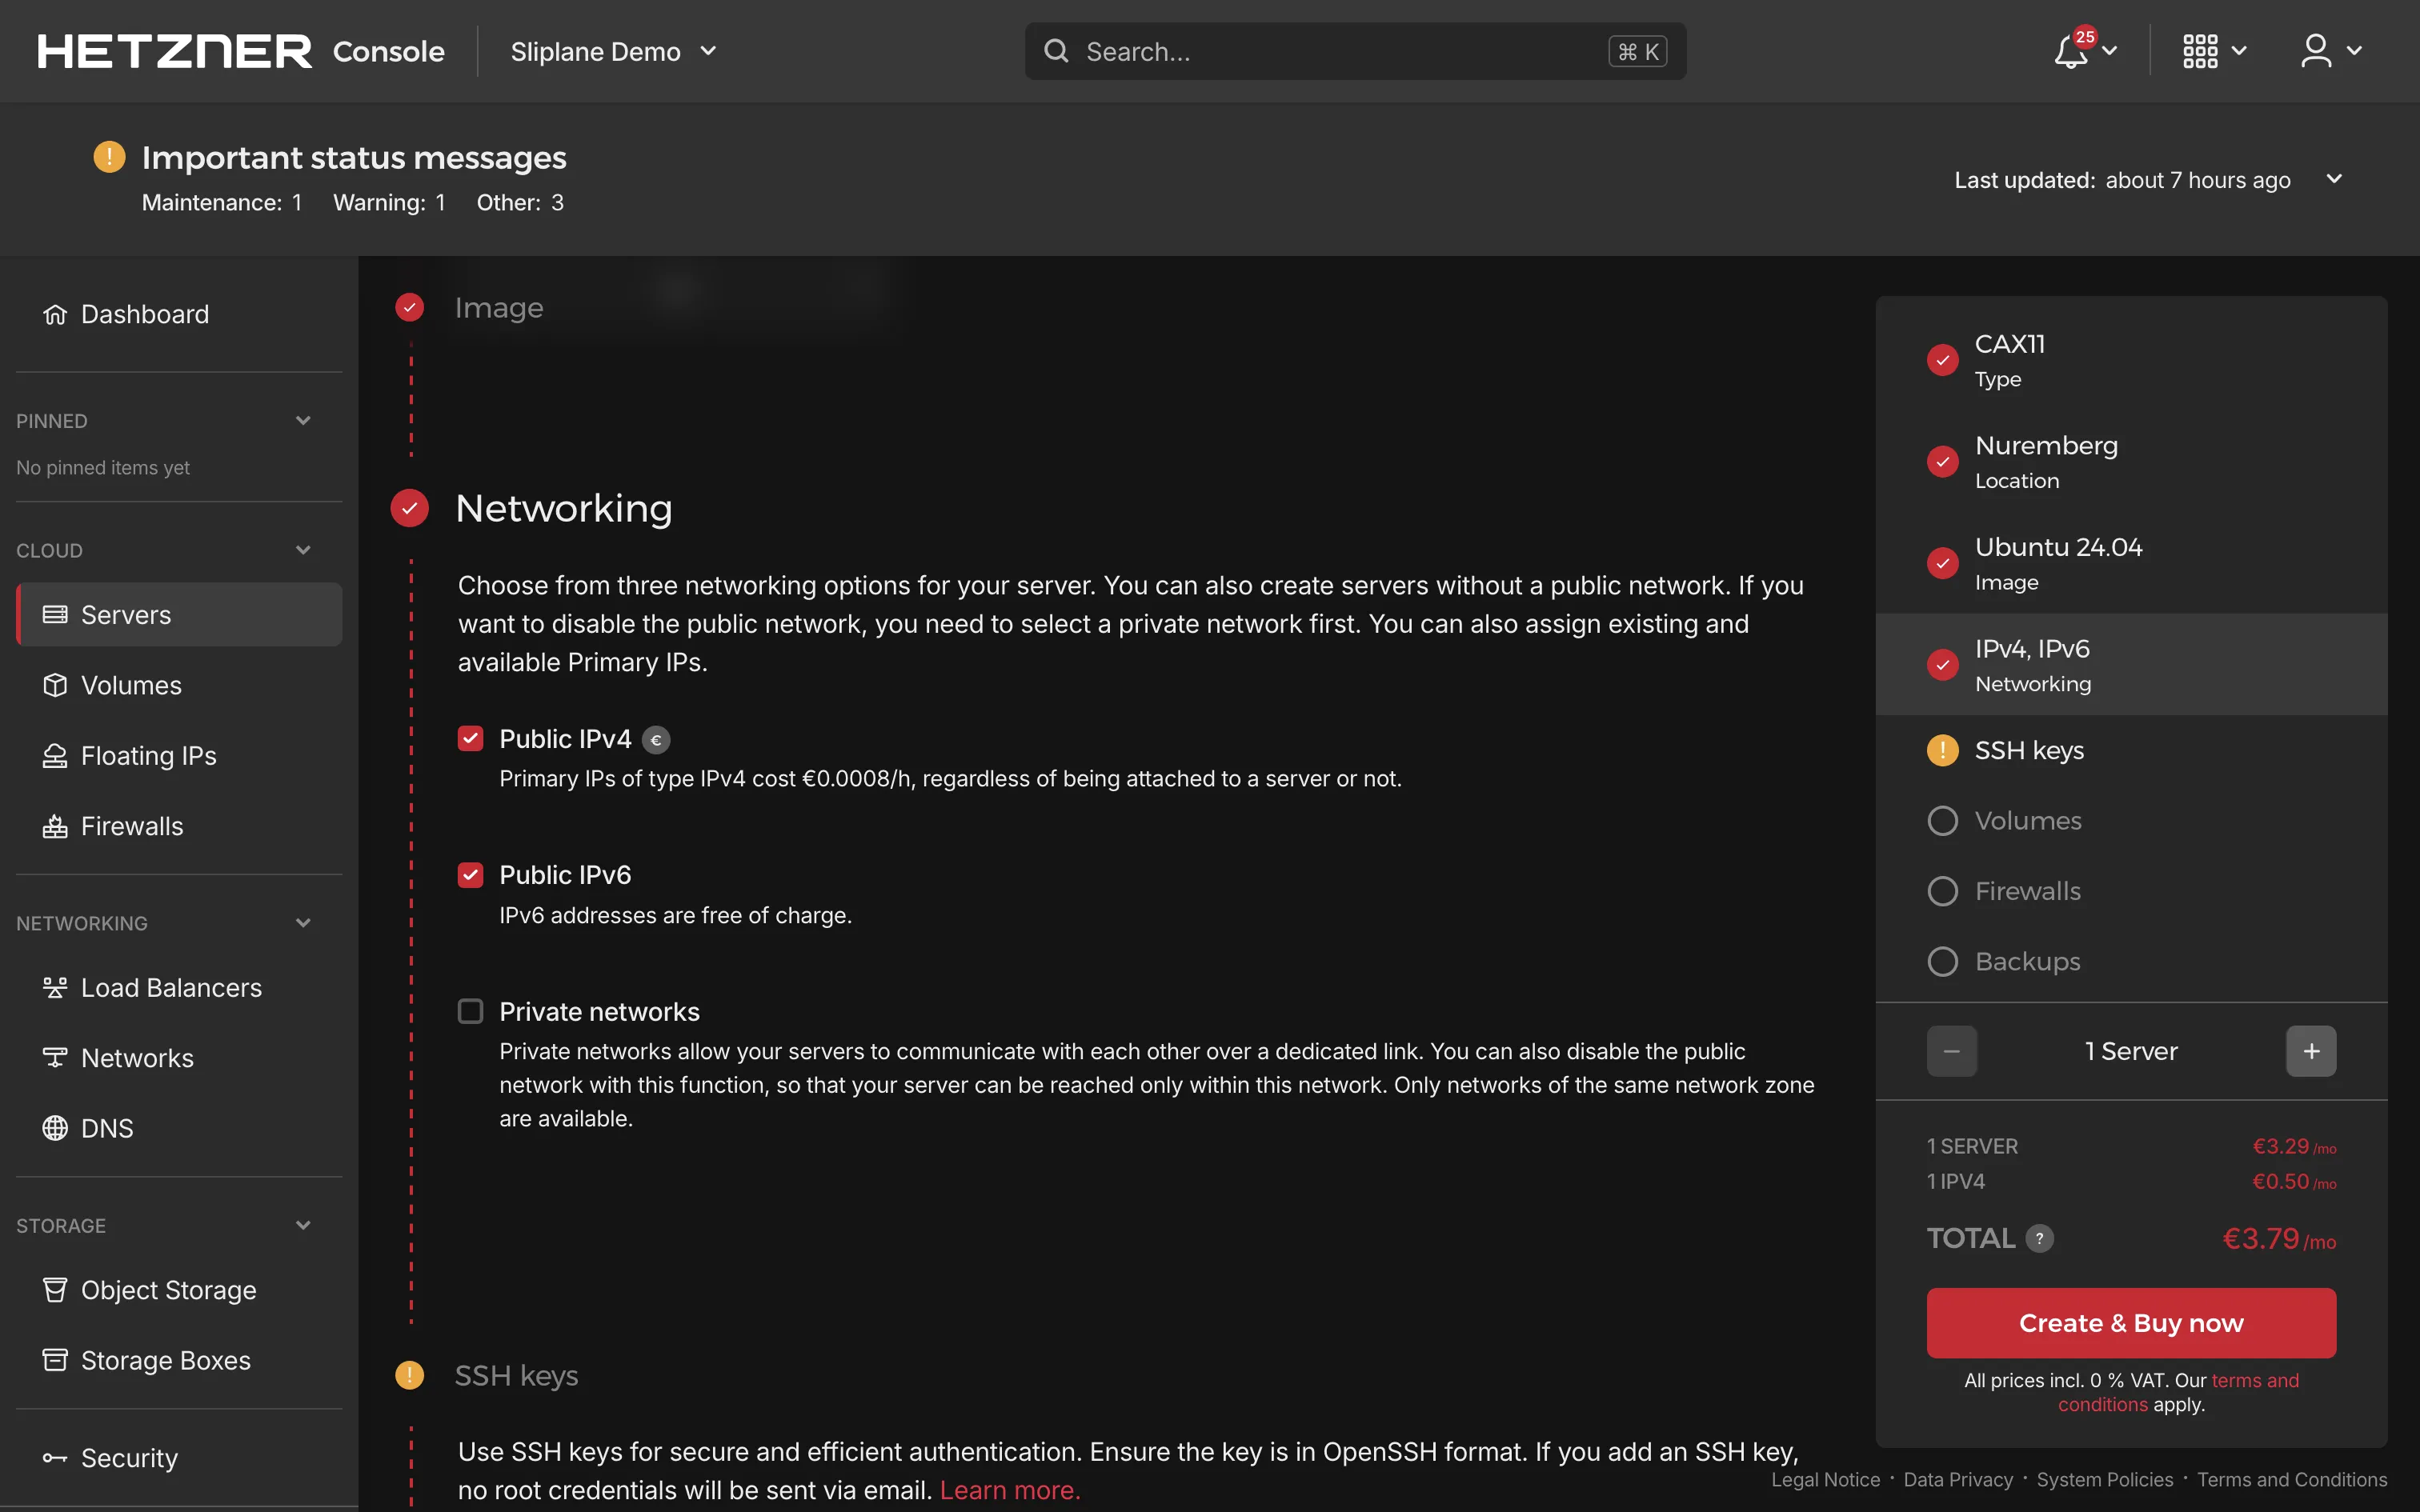
- Configure networking if needed, then click Create & Buy now.
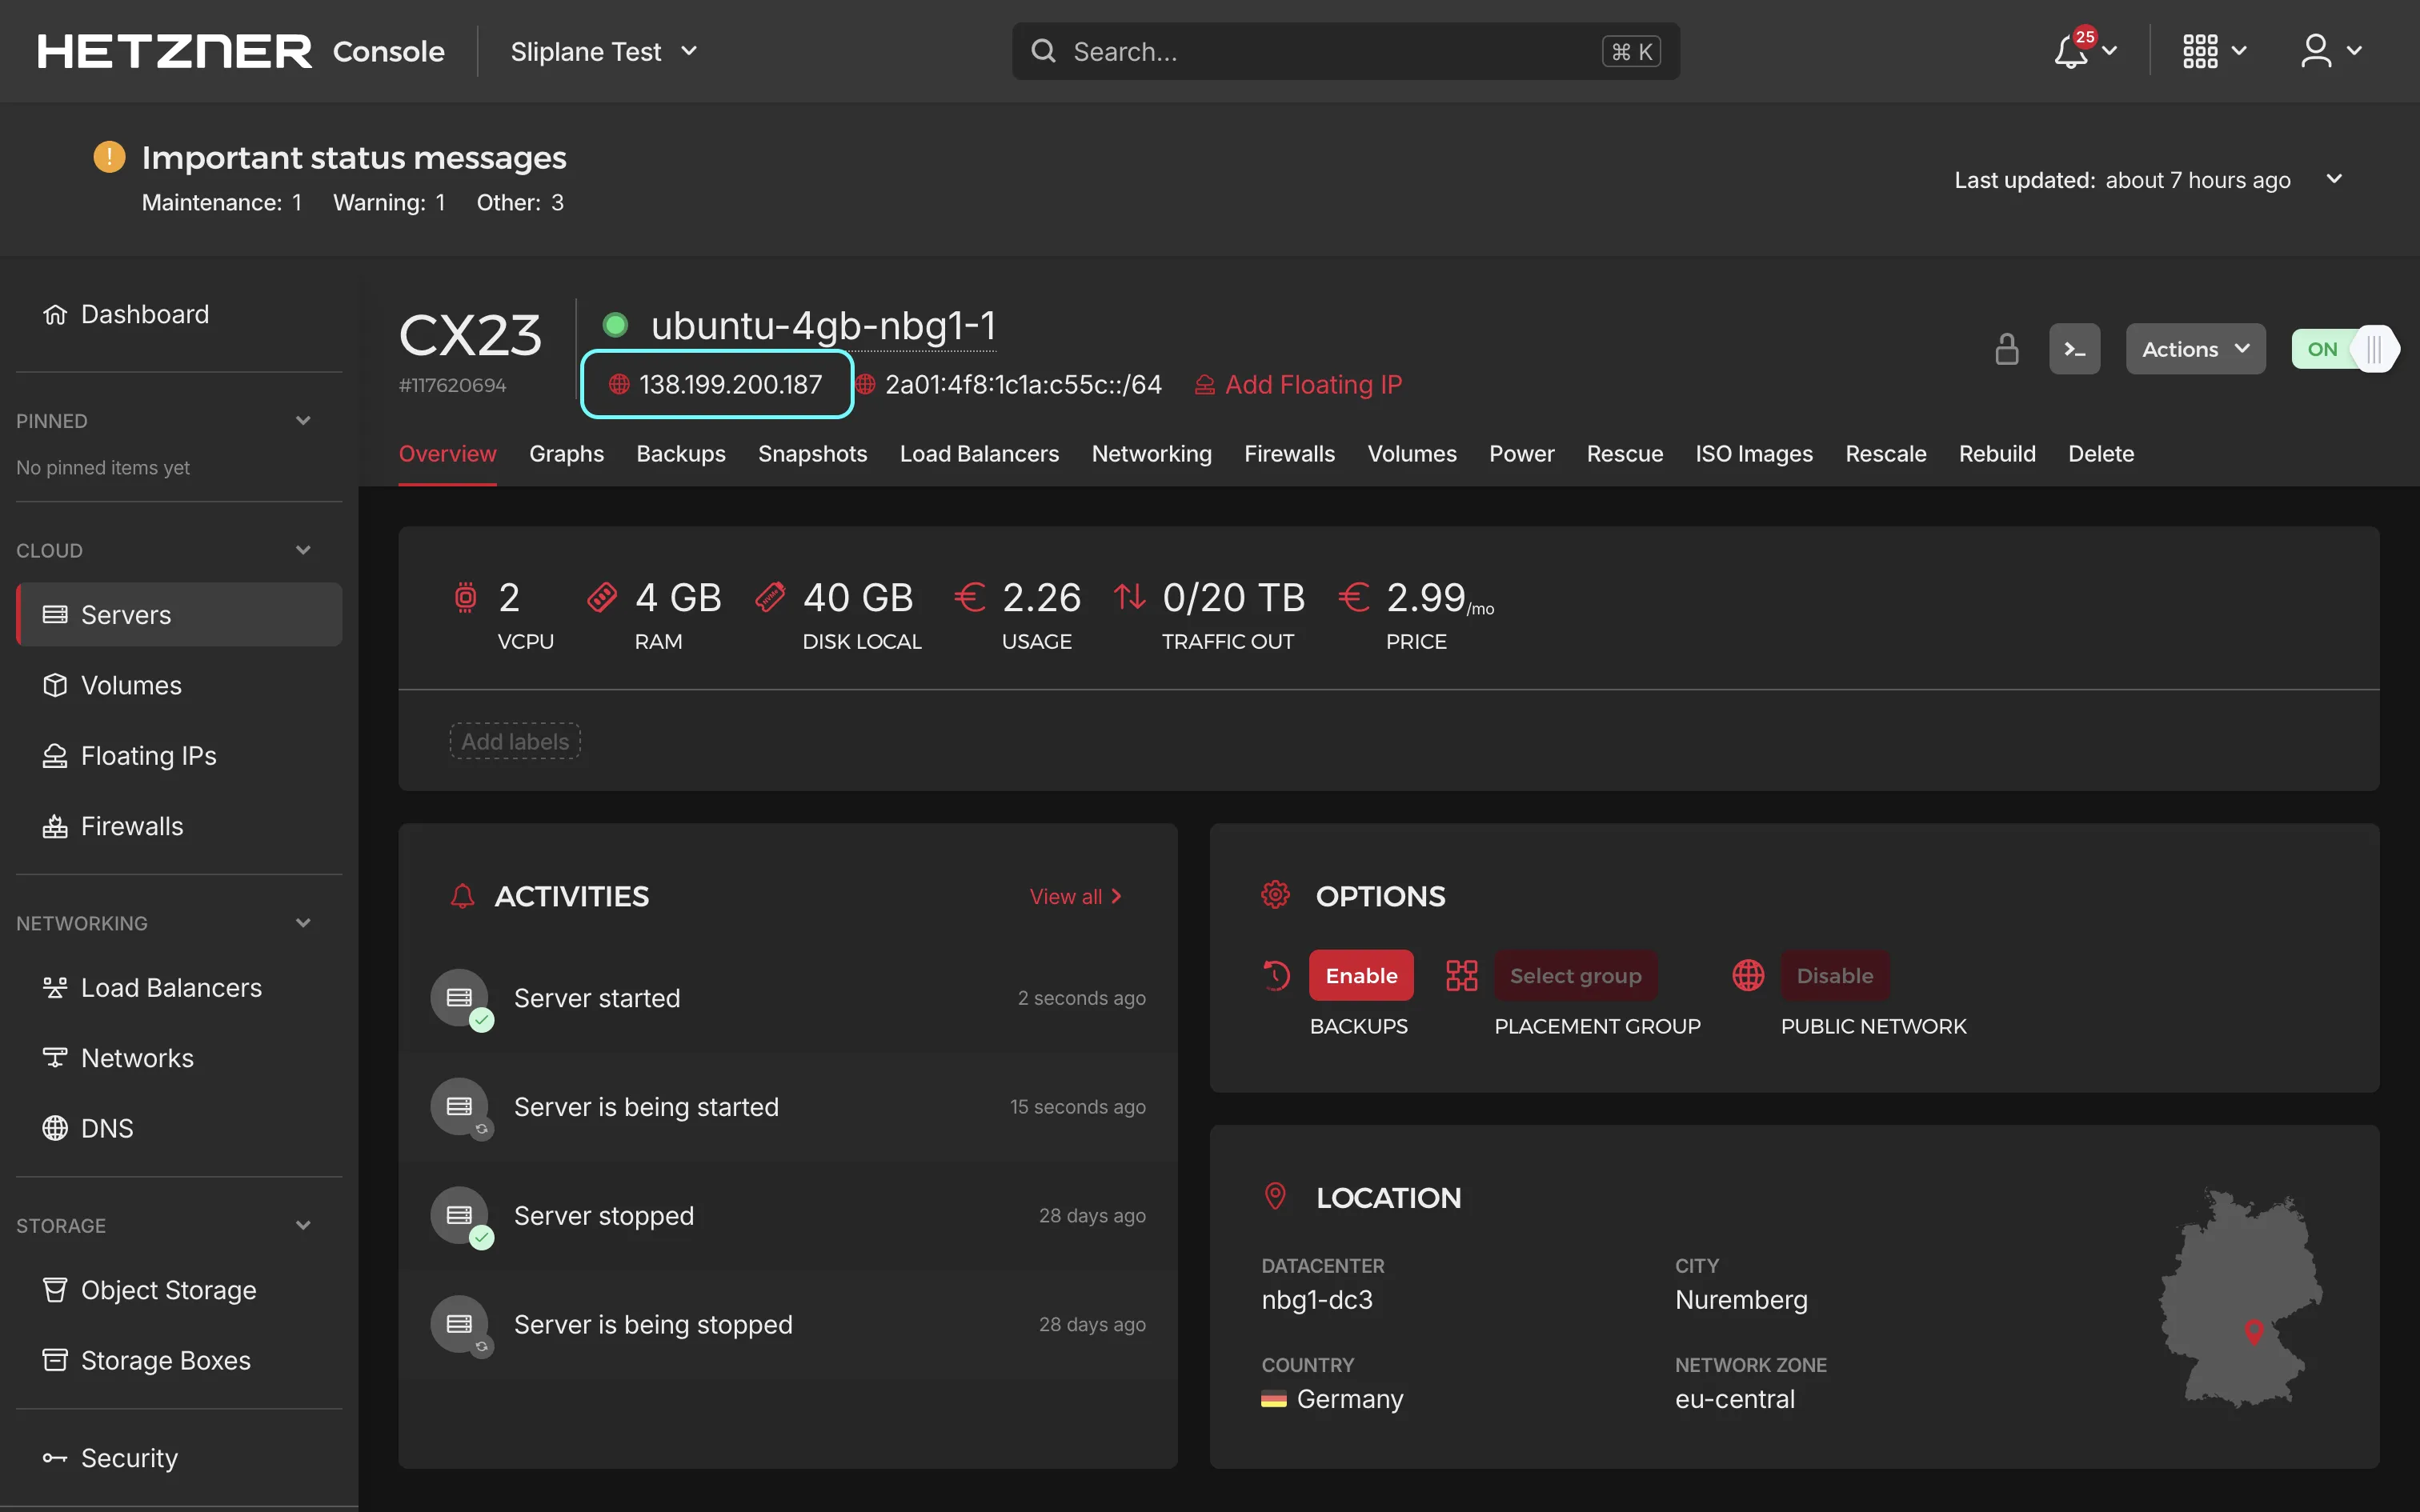
Once the server is ready, note its public IPv4 address.
Step 2: Update Your Server
Connect to the server over SSH:
ssh root@your-server-ip
Install the latest Ubuntu security and package updates:
sudo apt-get update
sudo apt-get upgrade -y
Step 3: Configure the Firewall
Only expose SSH, HTTP, and HTTPS:
sudo apt install ufw -y
sudo ufw allow 22    # SSH
sudo ufw allow 80    # HTTP
sudo ufw allow 443   # HTTPS
sudo ufw enable
Check the result:
sudo ufw status verbose
Docker-published ports can bypass UFW rules. Later in this guide, we bind n8n's port 5678 to 127.0.0.1 so it is reachable through Caddy but not directly from the internet. See Docker and ufw for more context.
Step 4: Install Docker
Install the packages needed to add Docker's official repository:
sudo apt-get update
sudo apt-get install ca-certificates curl gnupg

sudo install -m 0755 -d /etc/apt/keyrings
curl -fsSL https://download.docker.com/linux/ubuntu/gpg \
| sudo gpg --dearmor -o /etc/apt/keyrings/docker.gpg
sudo chmod a+r /etc/apt/keyrings/docker.gpg
Add the Docker repository:
echo \
  "deb [arch=$(dpkg --print-architecture) \
signed-by=/etc/apt/keyrings/docker.gpg] \
https://download.docker.com/linux/ubuntu \
$(. /etc/os-release && echo $VERSION_CODENAME) stable" \
| sudo tee /etc/apt/sources.list.d/docker.list > /dev/null

sudo apt-get update
Install Docker Engine and Docker Compose:
sudo apt-get install docker-ce docker-ce-cli \
containerd.io docker-buildx-plugin docker-compose-plugin -y
Verify the installation:
sudo docker run hello-world
sudo docker compose version
Step 5: Point Your Domain to the Server
In your domain provider's DNS settings, add records for the domain or subdomain you want to use. This guide uses n8n.yourdomain.com as the example.
- Add an A record named
n8nthat points to the server's IPv4 address. - Optionally add an AAAA record named
n8nthat points to the server's IPv6 address.
DNS changes can take time to propagate. You can check the A record from your computer:
dig +short n8n.yourdomain.com
Continue when the command returns your server's IP address.
Step 6: Install Caddy for HTTPS
Caddy acts as the reverse proxy and automatically obtains a TLS certificate from Let's Encrypt.
sudo apt install -y debian-keyring debian-archive-keyring apt-transport-https curl

curl -1sLf 'https://dl.cloudsmith.io/public/caddy/stable/gpg.key' \
| sudo gpg --dearmor -o /usr/share/keyrings/caddy-stable-archive-keyring.gpg

curl -1sLf 'https://dl.cloudsmith.io/public/caddy/stable/debian.deb.txt' \
| sudo tee /etc/apt/sources.list.d/caddy-stable.list

sudo apt update
sudo apt install caddy -y
Open the Caddy configuration:
sudo nano /etc/caddy/Caddyfile
Replace its contents with the following, using your real domain:
n8n.yourdomain.com {
    reverse_proxy 127.0.0.1:5678
}
Validate the configuration and restart Caddy:
sudo caddy validate --config /etc/caddy/Caddyfile
sudo systemctl restart caddy
Step 7: Install n8n and the AI Assistant Stack
The official one-line installer creates a Docker Compose stack with n8n, external task runners, an AI sandbox, and SearXNG. Run it from your home directory with --no-start so you can secure the port and configure your public URL before the containers start:
cd ~
curl -fsSL https://get.n8n.io | sh
The installer creates ~/n8n/compose.yml, ~/n8n/.env, and ~/n8n/searxng-settings.yml. It also generates unique secrets and stores n8n data in a Docker volume.
Before you continue, configure the public webhook URL. Open the generated .env file:
cd ~/n8n
sudo nano .env
Add the following variable, replacing the example domain with your own:
N8N_WEBHOOK_URL=https://n8n.yourdomain.com
Save the file, then restart the Docker Compose stack to apply the change:
docker compose restart
Step 8: Connect a Model to the AI Assistant
Open https://n8n.yourdomain.com and create the owner account. Then open AI Assistant and follow the prompt to connect a model provider.
n8n supports providers such as Anthropic, OpenAI, OpenRouter, and other OpenAI-compatible APIs. The model runs at the provider, so API usage is billed separately from your Hetzner server.
For example, to use Melious with GLM-5.2, choose an OpenAI-compatible provider and enter:
- Base URL:
https://api.melious.ai/v1 - API key: your Melious API key
- Model:
glm-5.2
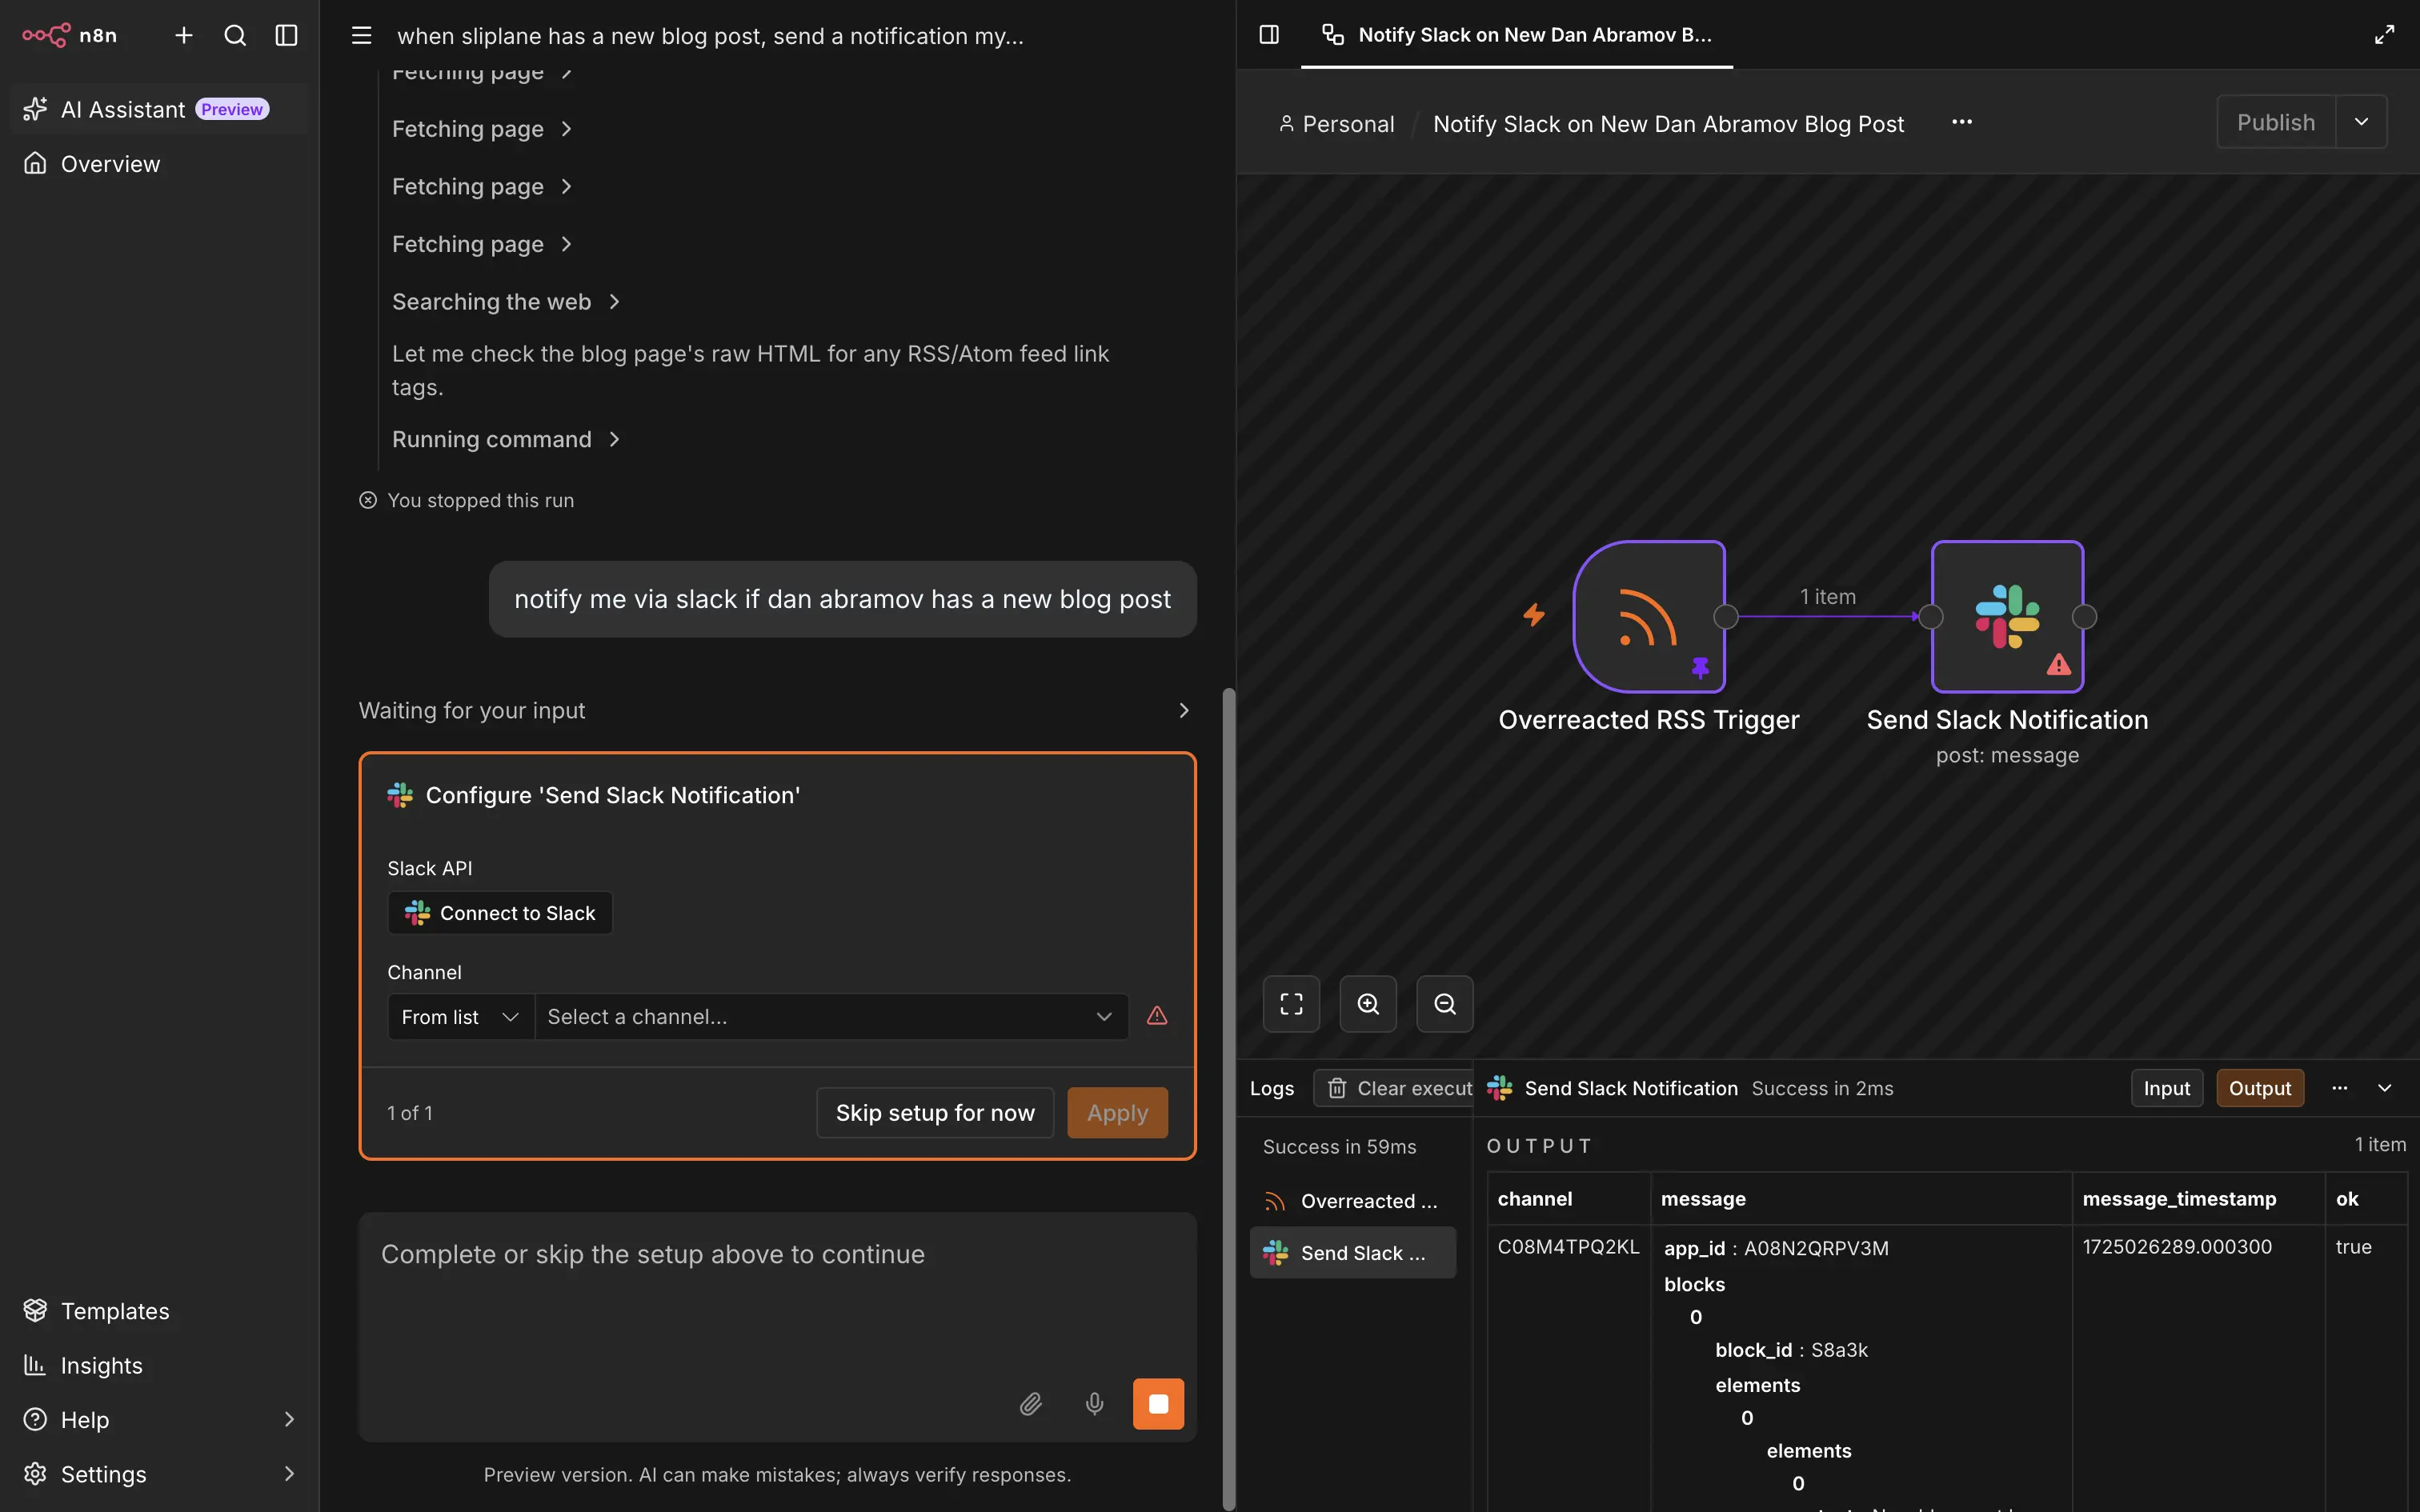
You can now describe the workflow you want in natural language. For example: "Notify me in Slack whenever Dan Abramov publishes a new blog post."
The assistant can find the blog's feed, add an RSS trigger, and create the Slack step. It will then ask you to connect your Slack account and choose a channel. Review the generated nodes, connect the credential, and test the workflow before publishing it.
Security and Backup Recommendations
A public automation server handles valuable credentials and can execute code, so treat it as production infrastructure:
- Keep Ubuntu, Docker, n8n, and the sandbox images updated.
- Restrict n8n accounts to trusted users and use strong passwords.
- Never expose ports
5678,5679,8080,9090, or the Docker socket publicly. - Review AI-generated workflows before publishing them.
- Back up the
n8n-dataDocker volume and the generated~/n8n/.envfile. - Store backups away from the server and test that you can restore them.
- Monitor container logs and resource usage.
The generated .env file contains secrets that connect the stack's services. Keep it private and include it in your recovery plan.
Updating n8n
The installer pins the n8n version instead of using a floating image tag. To upgrade to the latest stable version, run the installer again with --upgrade from the same directory where you created the n8n folder:
cd ~
curl -fsSL https://get.n8n.io | sh -s -- --upgrade
Back up your data first and read the n8n release notes for breaking changes. The upgrade command updates the n8n version in .env, pulls the images, and restarts the stack. It does not overwrite your customized compose.yml.
Because the AI Assistant is in preview, also review changes to the official Compose stack when upgrading.
What Self-hosting Costs
Your total cost has two parts:
- the fixed monthly price of your Hetzner server
- usage charges from the model provider connected to the AI Assistant
n8n Community Edition itself does not add per-execution hosting fees, but you still own the operational work: updates, backups, monitoring, security, and recovery. If you prefer managed container hosting, Sliplane's n8n hosting handles most of that server work for you.
Conclusion
You now have n8n and its preview AI Assistant running on a Hetzner Ubuntu server with persistent storage and HTTPS. The official installer makes the multi-container AI stack much easier to deploy, while Caddy and a localhost-only port keep n8n behind a single secure public entry point.
From here, connect the services you use, test your first AI-generated workflow, and set up automated backups before relying on the instance in production.